What do a wave stencil, a scuba diver stamp, a Facebook Reel on a cheerleading competition, and Iron-on-Ink have in common? It’s amazing where inspiration comes from! Hi everyone, it’s designer Betsy Burnett with my September Blank of the Month Blog. One day while cruising Facebook a reel started playing of a cheerleading competition, I admired the cute bows the squad was wearing and thought how fun it would be to create a custom hair bow using Artesprix Iron-on-Ink? Enter in this month’s Blank of the Month-Ribbon combine with an adorable “Curly wave” stencil from Pink and Main, and a fun scuba diver stamp I was given and an idea began forming for my ‘Under the Sea Hair Bow”.
![]()
What is Artesprix Iron-on-Ink?
Artesprix Sublimation Inks are specially formulated heat transferred ink. These inks allow you to create personalized designs on polyester coated surfaces and polyester fabrics. Using plain copy paper, you create your design,, you then transfer the finished design onto your compatible blank using a heat source and pressure. The results are vibrant, colorful, and best of all permanent! Before Artesprix you needed a fancy printer to experience this level of personalization, but not anymore!

Supplies:
Sublimation Markers - Pastel Chisel 10ct
Pink and Main Stencil: Curly Waves
A Muse Art Stamps: Deep Sea Diver
Stamp Blending Brushes
Fish Buttons (from your button stash ideally ;) )
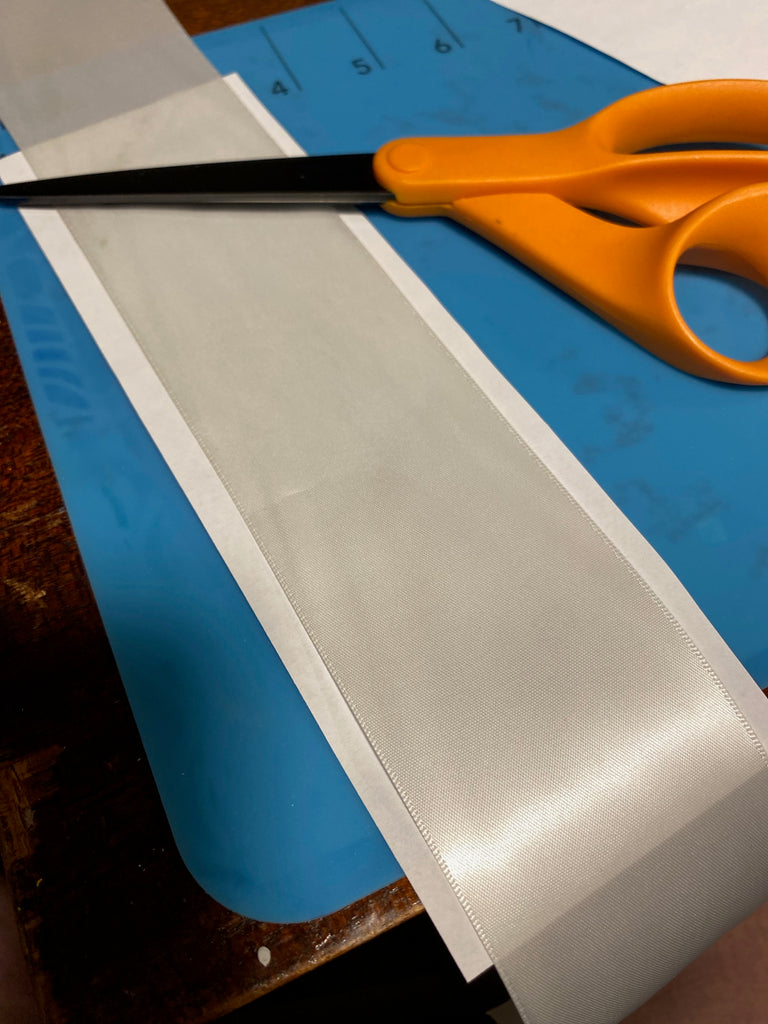
Coordinating Ribbon: Two pieces, about 2-3" each
Embroidery Floss/Needle
Goody Hair Tie
Hot Glue Gun
Copy Paper
Pencil
Scissors
Step-by-Step Tutorial:
Step 1: Place the Pink and Main Curly Waves stencil on plain copy paper.

Step 2: Using a stamp blending brush, alternate blending between the blue and green stamp pad onto the paper.
You will need 3-4 complete stencil images that you will cut out later.
Step 3: To create a beach scene use the “Cloud Bar” stamp and artesprix yellow, and then immediate stamp again slightly under the first image. Lightly ink up the Cloud stamp again and stamp on a scrap piece of paper, stamp again unto your pile of “sand” to give it a bit of dimension.
Step 4: Stamp your “Deep Sea Diver” on top of your sand pile and color him in using Artesprix’s Markers.
Step 5: Make a ribbon template. I cut out a piece of copy paper wider than the ribbon and as long as the stencil. I used this to cut apart the pieces of stenciled paper. On the ends I didn’t want to have awkward connections since my ribbon was longer than the stencil, I took advantage of the “white space” in the stencil and cut apart the ends there, and then cut a “connecting piece” with the next piece of stenciled image that I was going to use.

Pro Tip: With long sublimated designs like the ribbon, take advantage of the natural breaks in designs, like the white space in the stencil, to help the designs visually connect better.
Step 6: Begin securing your pieces for you ribbon. Center your artwork facedown over the ribbon, and using heat tape, tape down the artwork to the ribbon.
Pro Tip #2: Lightly number each strip with pencil to remember the order of sequence.
Step 7: Time to make the magic! Create your "sublimation sandwich". Add two pieces of protective paper, above and below your secured project.
Step 8: Heat press for 90 seconds at 400 degrees.

Step 9: "Peek test" time! Carefully lift a corner and see if the colors transferred.
Step 10: Since the ribbon is longer than my heat source, I had to do this in sections, repeating the steps above. Be sure to keep things in place from section to section to avoid a double image.

Step 11: After all the transferring and the ribbon has had time to cool. Fold the ribbon in half and finger press. Using a ruler, place your ribbon down, blank side up. Fold in each end about 3 1/2” towards the middle. Pinch all layers together and add a bit of hot glue to secure in place.

Step 12: Using a coordinating ribbon, wrap the pinched area. Hot glue in the back to secure in place and trim the ends.

Step 13: Add a bit of hot glue to the back of the bow at the center of that coordinating ribbon. Add a hair tie and hold till glue is dry. Wrap the 2nd piece of coordinating ribbon on top of the first this time including the hair tie while you wrap it. Hot glue in place.

Step 14: Using embroidery floss and a needle, (or hot glue or both) secure your buttons to the center of the bow and to the edges.
![]()
Ta-da! A custom themed hair bow. I love how vibrant the colors are and crisp the transfer is. If you use traditional markers on ribbon, you have bleeding and it’s difficult to get a crisp image. By using sublimation ink, you have no bleeding of your colors and the design is crisp and clear.
I could see creating these as favors for a themed birthday party, or even just to match a favorite outfit, you could even create “cheer bows” with names or numbers. The possibilities are endless! Looking for more Iron-on-Ink inspiration? Be sure to check out our Artesprix Facebook Group! Hope to see you there!
Happy Crafting!
Betsy Burnett
Comments