Hello crafters. I’m Design Team Member Naomi, and I’m here today with a dazzling Blank of the Month project. For this Iron-on-Ink project I will be using Sublimation Markers Markers along with July's featured blank, Jewelry Pendants. While these are advertised as Jewelry Pendants, they are very versatile, so follow along to learn more details behind the project!
**This post may contain affiliate links. That means that I may receive compensation if you purchase through the links I have provided. The price you pay for the product or service is not higher, but I may get compensated.**

What is Artesprix Iron-on-Ink?
Artesprix Sublimation Markers, Ink, and Paint are specially formulated to allow you to use basic copy paper to: color, stamp, stencil, and monoprint anything you wish and turn it into a heat-transferable design. These designs are then applied to a polyester or polyester coated substrate with heat and pressure. You can use a heat press or a home iron! These designs, through this process of sublimation, will become permanent on your substrates.
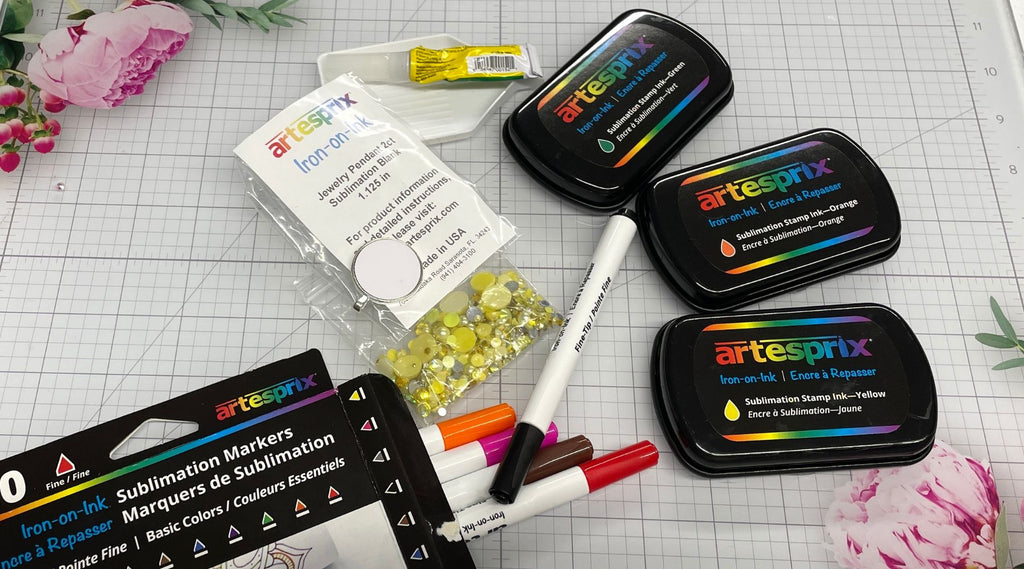
Supplies:
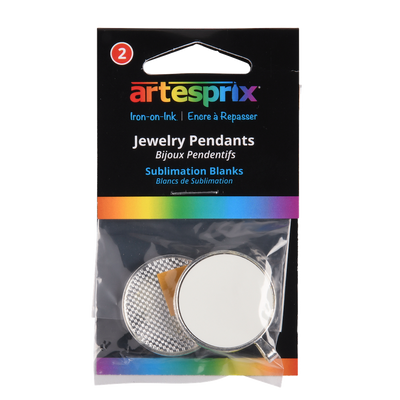
Sublimation Jewelry Pendant Blanks
Sublimation Markers
Sublimation Stamp Pads : Orange, Green, and Yellow
Flat-back Rhinestones or Pearls (small)
Plain Copy Paper
Pencil
Gem or Rhinestone Glue
Rhinestone Picker or Wax Pencil
Small Blending Brush
Pendant Chain
Step-by-Step Tutorial:
Step 1: Remove the white metal circular portion of the blank from the pendant, this is the part you will transfer your design to. Use a pencil to trace around the circle pendant insert on a piece of copy paper.

Pro Tip #1: Make several templates. This will give you extra to work with in case you are not crazy about your initial designs.
Step 2: Create a sunset background for your scene by using a blending brush to add orange and yellow ink to the top and green ink to the bottom of each circle.

Step 3: Use a black sublimation marker to make a tree trunk and branches inside of the circles.

Pro Tip #2: You can use a pencil first to sketch the details, and then trace over with your black sublimation marker. Pencil will not transfer or have an adverse affect on your design.
Step 4: (Optional) Use a brown sublimation marker (or ink pad) to fill in the tree trunk and branches.

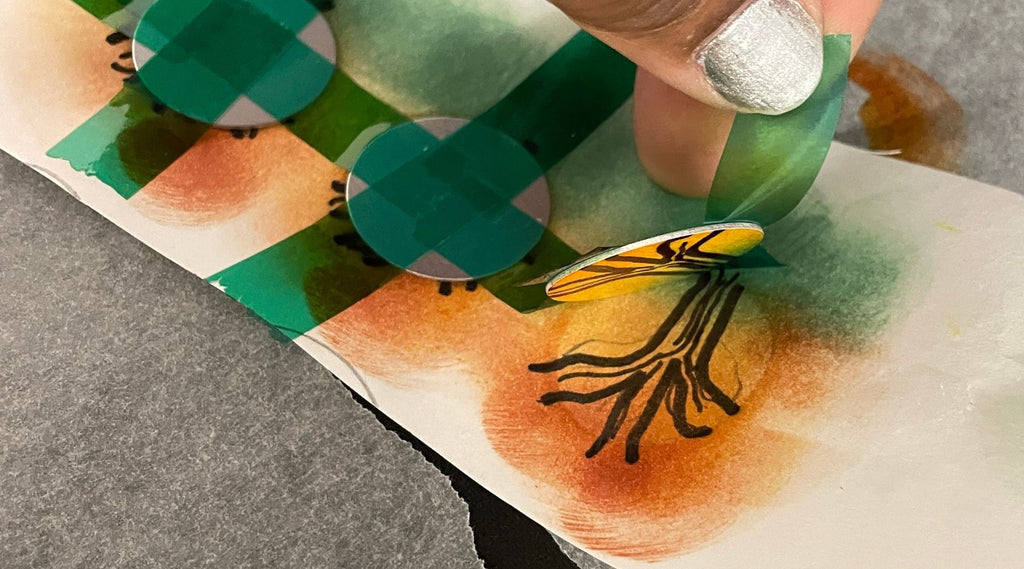
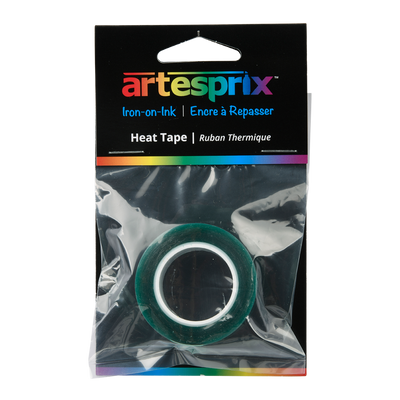
Step 5: When you’re happy with your design, place the pendant circles, white side down, over the designs and tape using the heat tape.
Step 6: Let’s make our "sublimation sandwich" so that we can press our design onto the pendant blank. Place a sheet of protective paper on your work surface. Add the secured project with the design/paper on top, to the protective paper. Lastly, add another sheet of protective paper on the top to protect your heat platen from unwanted ink.

Step 7: Turn on your heat press and set the temperature to 400℉
with the timer set to 40 seconds.
Step 8: Place the “sublimation sandwich” over and place it on the heat press.
Pro Tip #3: The pendants are metal and will be very hot. Use a heat glove to remove from the heat press.
Step 9: Once your transfer time is finished, do a “peek test” by lifting just one corner of the paper to see if the design transferred. If it did, you are good to go. If your transfer is not bright and vivid, press again.

Step 10: (Optional) When cool, adhere rhinestones with gem glue to the pendant design to form the “leaves” on the trees. Let the rhinestones cure for at least 2 hours.
Pro Tip #4: A wax pencil or a rhinestone picker are great for picking up the stones and adding them to your design.

Step 12: Remove the adhesive backing on the metal insert and secure the insert that you created onto the base.
Step 13: Add a chain to the pendants to finish off your pieces.

I created a set of three pendants for my daughters and I. They are really pretty and I love that we can trade them between us to wear with different outfits. You could also turn these into earrings, or key chains, endless options with the July Blank of the Month.
For more fascinating ideas for your next Iron-on-Ink project, check out the Artesprix Blog. Let us know if you try this project or style by using the #Artesprix & #IrononInk or post your project to the Artesprix Facebook Group. And don’t forget to order your sublimation pendants soon because once July is gone, so are these beauties.
If you want to learn more about me, visit my About Me here.
Now, go make something dazzling!
Naomi Garcia
**This post may contain affiliate links. That means that I may receive compensation if you purchase through the links I have provided. The price you pay for the product or service is not higher, but I may get compensated.**
Comments