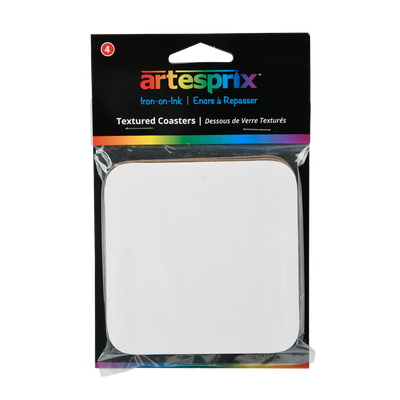
Hi, I’m Janet and I am thrilled to be a Guest Designer at Artesprix using the Textured Coasters. I actually experimented with a technique I’ve been wanting to try, shaving cream marbling. I wondered if it would work with the sublimation inks. These coasters come in a set of four and are great for hostess gifts or to give to enjoy yourself!
**This post may contain affiliate links. That means that I may receive compensation if you purchase through the links I have provided. The price you pay for the product or service is not higher, but I may get compensated.**

What is Sublimation Iron-on-Ink?
Sublimation uses a special ink that when heated it creates a gas that chemically bonds to specially treated surfaces or polyester fabrics. These items are called blanks. The inks appear bright and colorful once transferred is permanent. Before Artesprix you needed a sublimation printer to experience this level of personalization, but now it is available to all through Artesprix's line of Iron-on-Inks.

Supplies:
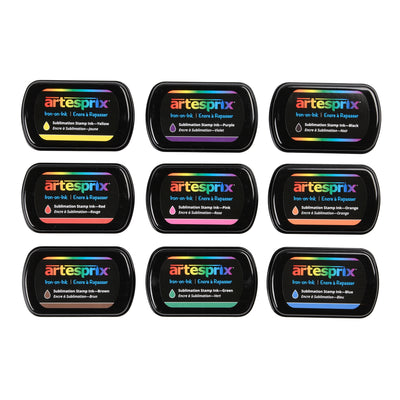
Sublimation Inks
Shaving Cream
Textured Coaster Blanks
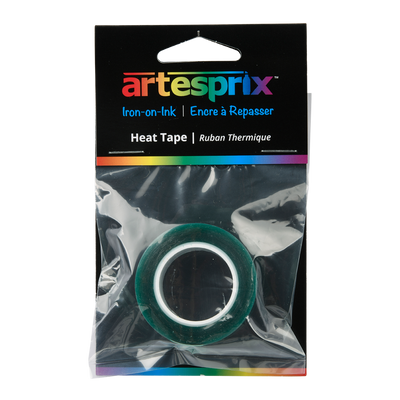
Heat Resistant Tape
Protective Paper Roll
Copy Paper
Aluminum Pan
Cricut Big Scrapper
Protective Project Mat
Cricut EasyPress
Dowel Rod
Step-by-Step Tutorial:
Step 1: Fill the Aluminum Pan with a inch layer of shaving cream, he scrapper to smooth the surface.

Step 2: After filling the pan with shaving cream I squeezed single drops of Artesprix's Sublimation Stamp Ink Refills throughout the pan.

Step 3: Swirl the ink into the shaving cream until you like the design. Then place the paper on top of the design and press down until you see the entire surface of the paper appears covered.
Pro Tip: The less you swirl the more of the original colors you will see.
Step 4: Lay a piece of copy paper directly on top of the shaving cream then lift the paper off of the shaving cream and then place it on a flat surface.
Pro Tip #2: Mixed Media paper is great for Iron-on-Ink projects like this!

Step 5: Scrape the shaving cream off the paper. Set paper aside to dry.
Pro Tip #3: You can continue to use the shaving cream by continuing to do "paper pulls" with them. I created an additional transfer for my second coaster this way.

Step 6: Once your design is dried, choose the areas you would like to transfer and place your coasters face-down onto the design.
Pro Tip #4: If you have a heat press, you can press all 4 coasters at once, I have a Cricut Easy Press so I press them individually to ensure proper transfer.
Step 7: Secure with heat resistant tape to prevent shifting during transfer.
Step 8: Put your secured project between 2 pieces of protective paper bigger than your design, this will protect your work surfaces from unwanted ink (especially with a design like this) !

Step 9: Transfer according to the blank specifications. These blanks call for 400℉ at 90 seconds. When transferring it is essential that the design is on top of the blank, we want the heat to be as close to the design as possible.

Step 10: After the timer is done, CAREFULLY do a "peek test" before totally removing the heat tape/design from the blank. If it is not as bright as it could be, check your time, temperature, pressure, and "sublimation sandwich" and re-press.
Step 11: If your "peek test" was successful, remove your design from your blank to reveal your unique transfer.
The results are quite colorful! I am happy with the final project and I look forward to trying this method again with the Artesprix Sublimation Paint. If you have not tried Artesprix products yet, they have a Sublimation Starter Kit that is perfect for any paper crafter to get started with sublimation! If you want to see more projects like this, join the Artesprix Facebook Group or subscribe to their YouTube Channel.
Thank you for following along!
Janet Trieschman
**This post may contain affiliate links. That means that I may receive compensation if you purchase through the links I have provided. The price you pay for the product or service is not higher, but I may get compensated.**
Comments