Hi, crafters, makers, and creators. I’m Designer Naomi, back with another fun Iron-on-Ink project tutorial. This time, I’ll show you how I created a cute, faux tie dye sublimation water bottle. If you have yet to tackle a sublimation drink-ware project, not to worry. Follow along the step-by-step tutorial below for all the pro tips that will help you tackle a new sublimation project!
**This post may contain affiliate links. That means that I may receive compensation if you purchase through the links I have provided. The price you pay for the product or service is not higher, but I may get compensated.**

What is Artesprix Iron-on-Ink?
Artesprix Sublimation Markers, Ink, and Paint are specially formulated to allow you to use basic copy paper to: color, stamp, stencil, and monoprint anything you wish and turn it into a heat-transferable design. These designs are then applied to a polyester or polyester coated substrate with heat and pressure. You can use a heat press or a home iron! These designs, through this process of sublimation, will become permanent on your substrates.
Supplies:
Water Bottle
Craft Oven
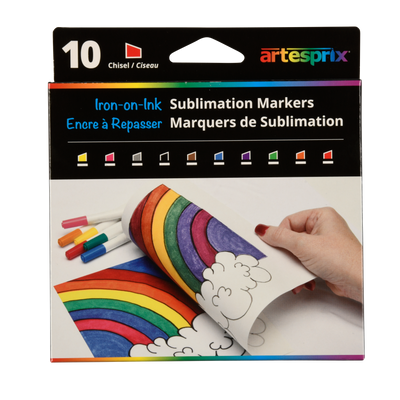
Sublimation Markers
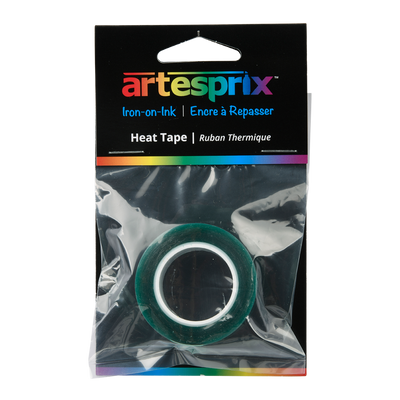
Heat Tape
Transfer Mask
Sublimation Wrap
Copy Paper
Pencil
Tape Measure
SVG Design (The one I used is from Ultimate Crafters Club)
Cricut or other cutting machine
Lint Roller or alcohol and lint-free cloth
Heat Glove or Oven Mitt
Step-by-Step Tutorial:
Step 1: Measure your water bottle to determine the dimensions of the template and how large your design needs to be.
Step 2: On your copy paper, draw a rectangle the same size as the template determined in Step 1.

Step 3: Starting from the center of the rectangle you drew, draw random sized lines from the center out to make a circle or a spiral.
Pro Tip #1: To find the center of your design, lightly fold your paper in half horizontally and then vertically. The center point will be where the lines intersect.
Step 4: Choose a different color marker and draw lines the same way outside of the lines you’ve already made.

Step 5: Repeat until you have filled the template completely.
Pro Tip #2: Overlapping each layer with the previous layer will give a really nice effet.

Step 6: Upload the SVG file to your cutting machine software (Cricut Design Space in my case).
Step 7: Insert a rectangle the same size as the template.
Step 8: Position the SVG on top of the rectangle, centering the design both horizontally and vertically.
Pro Tip #3: Designs sized 2.5’-3” wide are usually a safe measurement.
Step 9: Use the “attach” feature in Cricut Design Space to attach the SVG to the template and send to cut. IMPORTANT: Mirror your design.

Step 10: Add the mask to the back, blank side of the copy paper design.
Step 11: Cut your design on your cutting machine.
Step 12: Remove the cut-out letters from the design.

Step 13: We are ready to transfer. Remove lid/plastic parts and clean the water bottle with a lint roller or lint-free cloth.

Step 14: Our sublimation sandwich for this project looks a little different. First, wrap your design around the water bottle and use heat tape to secure it. Next, place the sublimation wrap over the water bottle and use a heat gun to shrink and secure it.

Step 15: Set the Craft Oven to 370℉. Once it has reached temperature, place Water Bottle inside and set a timer for 6 minutes.

Step 16: Remove the water bottle from the oven when the time is up and set aside to cool for a few minutes. CAUTION: The water bottle will be EXTREMELY HOT. Use a heat glove or oven mitt to remove.

Step 17: Time for a “peek test.” When cool enough to handle, remove the sublimation wrap and design from the bottom edge of the water bottle and see if the print has transferred. If it looks good, you’re good to go and can move on to the next step. If not, you can tape it back up and place it back in the oven for a couple of more minutes.

Step 18: Remove your design and add your lid.
For more refreshing ideas for your next Iron-on-Ink project, check out the Artesprix Blog. Let us know if you try out this project by using the #Artesprix & #IrononInk or post your project to the Artesprix Facebook Group. And don’t forget to order your water bottles soon so you can create some to keep cool this Summer!
If you want to learn more about me, visit my About Me here.
Now, go make something cool!
Naomi Garcia
**This post may contain affiliate links. That means that I may receive compensation if you purchase through the links I have provided. The price you pay for the product or service is not higher, but I may get compensated.**
Comments