Hey there! My name is Naomi and I am one of the new Design Team Members for this term. You will see my work with Iron-on-Ink featured on the Artesprix Blog for the next 6 months, so I hope you are as excited as I am! Spring is in full swing and Summer is on the way, which can mean only one thing: it’s time for a decor refresh. While not going for a full out bedroom remodel, I did come up with something super cute using the Artesprix May Blank of the Month pillowcase. Follow along as I show you how I created this fresh and vibrant dream Pillow Case with Iron-on-Ink.
**This post may contain affiliate links. That means that I may receive compensation if you purchase through the links I have provided. The price you pay for the product or service is not higher, but I may get compensated.**

What is Artesprix Iron-on-Ink?
Artesprix Iron-on-Ink is an excellent way to experience the sublimation process without having a sublimation printer. Their markers, stamp pads, and acrylic paints (my personal favorite) are made to use with regular copy paper. When transferred to a sublimation-ready blank using a heat source, you end up with a simply stunning and brilliant print. The best part it is, it's the same professional level project you would get from a sublimation printer.

Supplies:
Artesprix Iron-On-Ink Pillow Case Blank
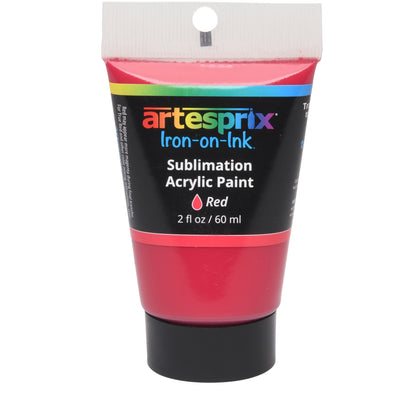
Artesprix Iron-on-Ink Acrylic Paint
5 sheets of letter size copy paper
Paint brushes or sponges
Spritz bottle with water
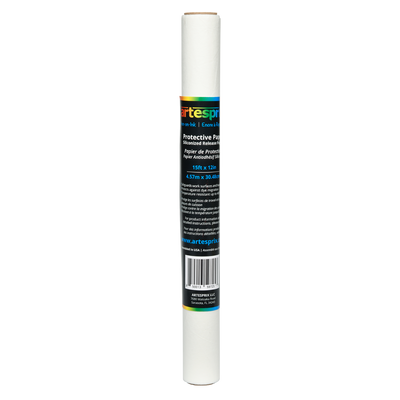
Artesprix Protective Paper
Lint roller
Siser TTD Easy Mask
Heat Tape
Cutting Machine
Heat press or Handheld Craft Press
Step-by-Step Tutorial:
Step 1: Create a sublimation “watercolor spray” by adding water to a small spray bottle and then adding one or two drops of Iron-on-Ink paint to the bottle. Shake well.
Pro Tip: A little paint goes a long way.

Step 2: Lay out the standard sheets of copy paper and lightly spritz with your watercolor solution as desired. Allow to dry.
Step 3: Decide what colors you’d like to use for your pillowcase and add them to a non-porous surface, like a paint tray. You can make more colors by mixing paint colors.
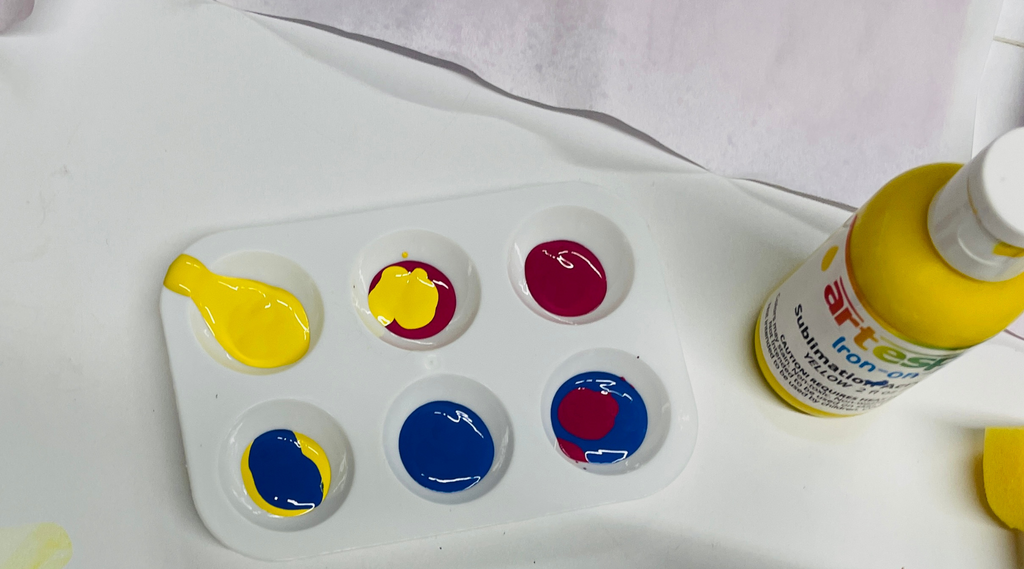
Pro Tip #2: See Artesprix's guide to mixing their Sublimation Paint here.
Step 4: Use a sponge or paint brush to paint freely across each of the pages of copy paper. I painted in the middle so that I’d have the watercolor splatters on the edges. Allow the paint to dry completely.

Step 5: Add another light layer of spray solution on top.

Step 6: Once dry, cut a piece of Siser TTD Mask for each sheet of painted paper and adhere it to the back. I like to use a scraper and a brayer to make sure it goes on smoothly

Pro Tip #3: You could also use the new Artesprix Heat Resistant Transfer Mask. I just used the Siser TTD Mask because I had more of it on hand and it is such a big blank/design.
Step 7: Your transfer sheets are ready so now it’s time to setup your Cricut (or other cutting machine) to cut the letters for your Pillow Case. In Design Space, type in the word “DREAM” and change the font to your preference.

Pro Tip #4: This is a great time to set your heat press to 400℉ for preheating. The Pillow Case calls for a transfer time of 45 seconds.
Step 8: Size the word so that each letter will fit on a sheet of paper and so that the entire word will fit across the pillow case (you have about 29” to work with).

Step 9: Ungroup your word to individual letters so that you can change the color of each letter to correspond to the color of paper you will cut it on.
Step 10: Send your project to cut and be sure to MIRROR each mat.

Step 11: Cut using the “copy paper” setting.
Pro Tip #5: While your machine is cutting, use a lint roller to remove lint from the Pillow Case. Then "pre-press" your pillow case for a few seconds to remove moisture and wrinkles.
Step 12: Once cut, reverse weed your design, like you would a stencil. You’ll be removing the actual letters and leaving everything else behind.
Step 13: Use scissors to do a free-style kind of cut around the outside of each letter cutout. I chose a kind of scalloped cut.
Pro Tip #6: This could also be done using decorative scissors, which would look AMAZING!

Step 14: Arrange your cut outs on the Pillow Case, face down. Use heat tape to hold them in place.

Step 15: Let’s make our "sublimation sandwich" by cutting 3 sheets of protective paper bigger than the design. Two will go on the top/bottom, and one will go in-between. This will keep any of the paint from transferring to work surfaces and parts of your Pillow Case where unintended.

Step 16: Press the pillowcase for 45 seconds.
Step 17: After my first press I did a "peek test". This is where I pulled back a portion of the design, without removing the tape, to ensure the transfer was successful.
Note: Because my design is bigger than my heat platen, this project must be pressed in sections. To do this, I pressed the first 2 letters, lifting up the “E” so it wouldn’t be pressed yet. Then, I moved the pillow case over, and did the same with the remaining letters until I was finished.
Step 18: After my successful "peek test", I revealed my first 2 letters and then continued on pressing the rest of my design.

How fun was that?! And it doesn’t have to be the word “Dream”. You can add a name or initials if you’d like. Or maybe you want to give it as a graduation gift with "2023", or bachelorette party favor for the "Bride". So many ideas, just have fun with it! We would love to see what you create.
Be sure to check out the Artesprix Blog for more creative ideas for your next Iron-on-Ink project. Don't forget this Pillow Case is not available for much longer in the shop so don't wait if you would like to give this project a try. Use the #Artesprix & #IrononInk or post your project to the Artesprix Facebook Group, we would hate to miss it! And if you want to learn more about me, visit my About Me here.
Now, go make something cute!
Naomi Garcia
**This post may contain affiliate links. That means that I may receive compensation if you purchase through the links I have provided. The price you pay for the product or service is not higher, but I may get compensated.**
Comments