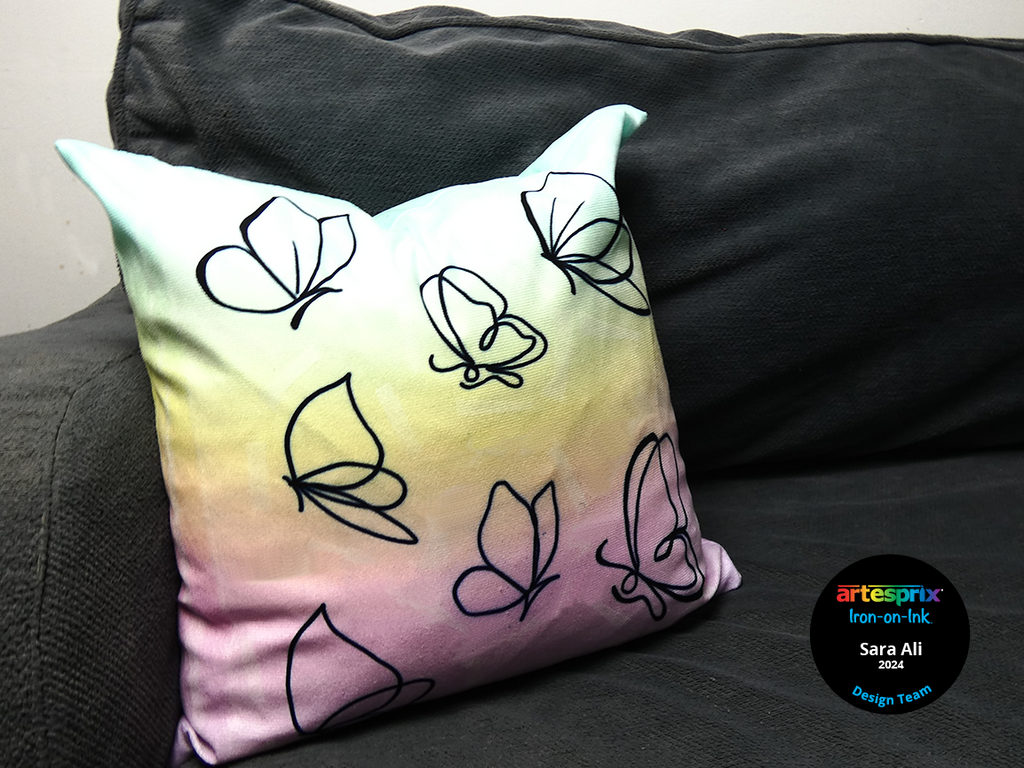
Hey friends! My name is Sara, and today we’re customizing this month’s blank; an Ombre Pillow Case! The blank is beautiful and we’re keeping it simple and beginner friendly with this project. You will only need one sublimation marker! Don't forget, this blank is only available for the month of March so get yours while you can!
**This post may contain affiliate links. That means that I may receive compensation if you purchase through the links I have provided. The price you pay for the product or service is not higher, but I may get compensated.**
What are Artesprix Sublimation Markers?
Sublimation markers are like sketch markers, but they’re made with Iron-on-Ink. This makes us able to draw and create sublimation designs that can be transferred permanently onto any sublimation blank. The markers are muted on paper, but once they’re heat pressed the colors become vibrant!
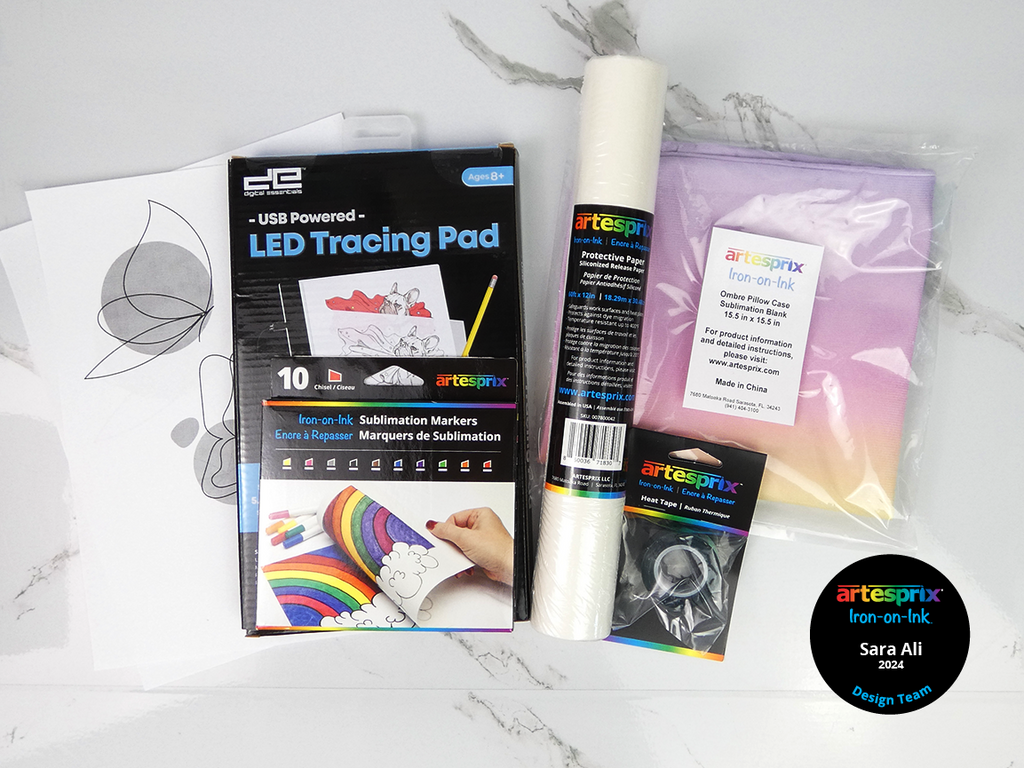
Supplies:
Step-by-Step Tutorial:
Step 1: Get your butterfly line art inspiration printed out in different sizes. Then, set up your tracing pad with the butterfly print outs and mixed media paper.
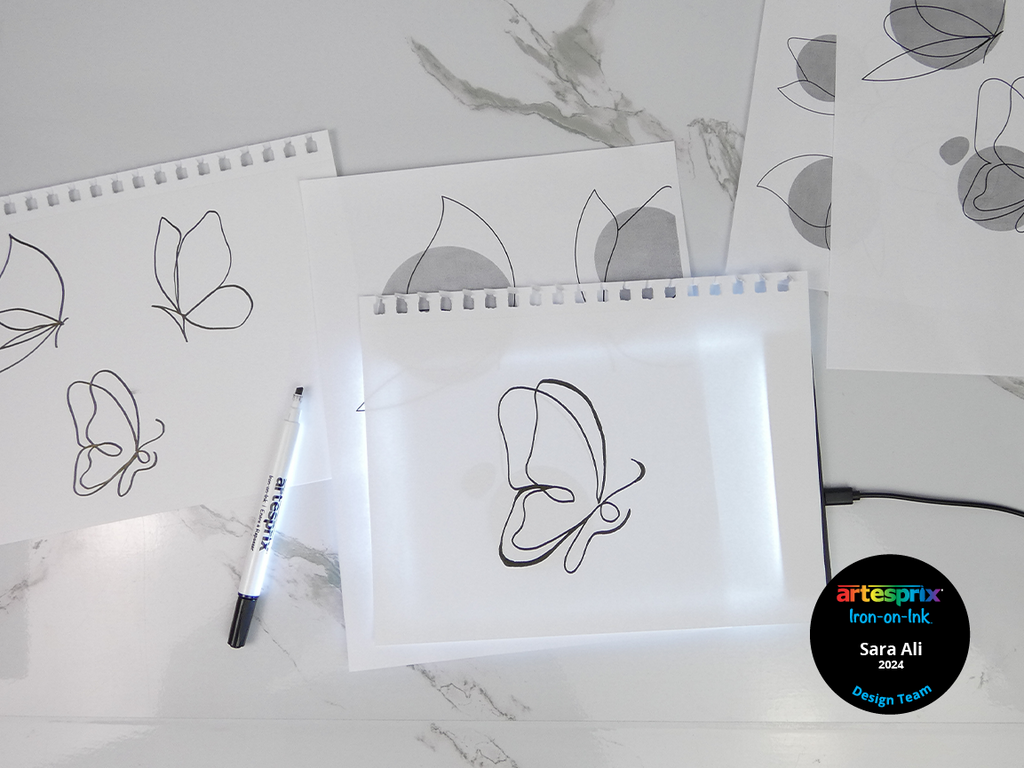
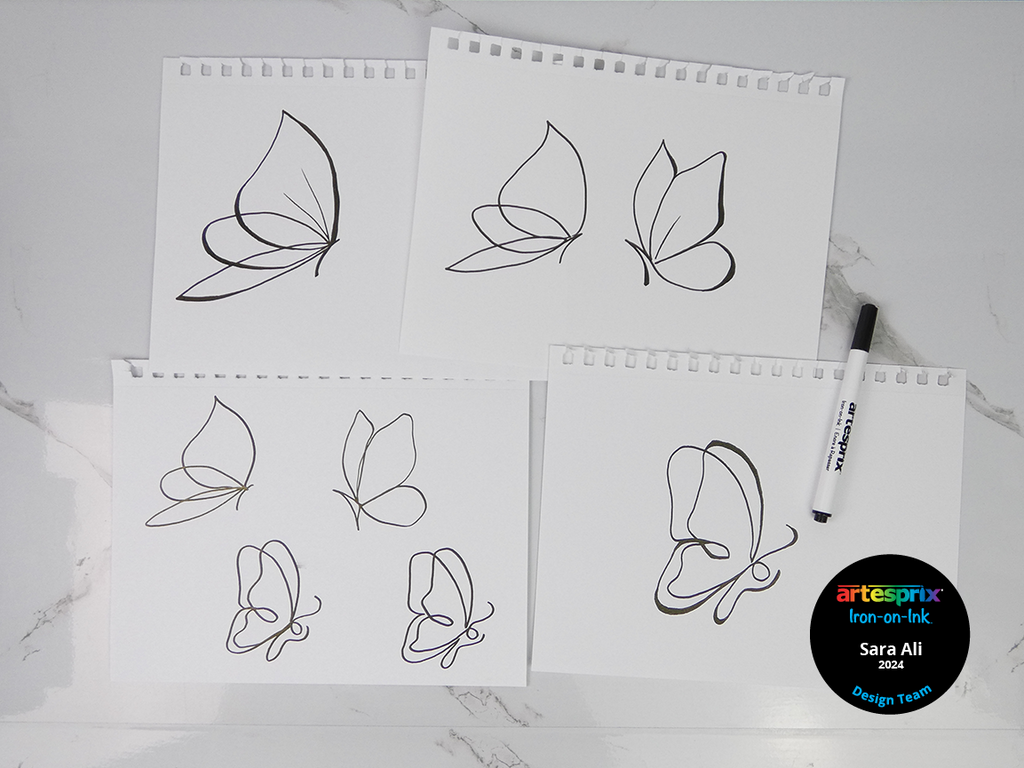
Now, use a sublimation marker of your choice to trace as many butterflies as you like! I went with black chisel marker, and I traced different sizes!
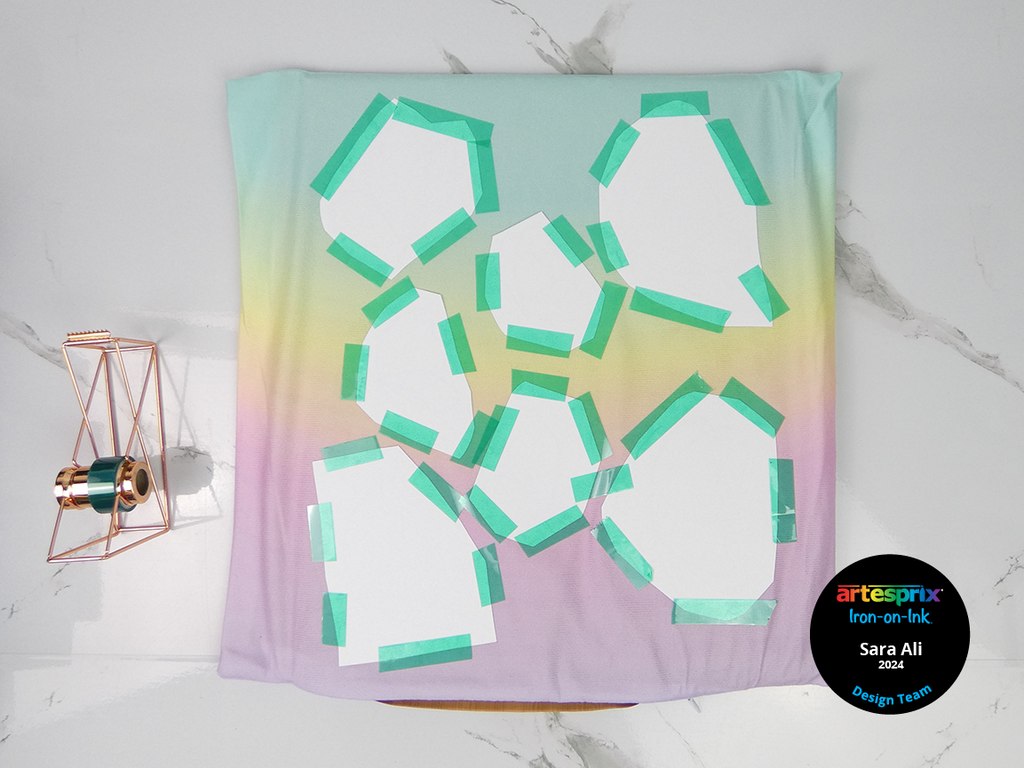
Step 2: Cut out each butterfly, lay them all face-down on your pillowcase in a scattered pattern and secure each with heat resistant tape.
Pro Tip: Turn on your heat press to warm up while we prepare for pressing! If you’re using a heat press, you’ll need to set it to 385°F and 45 seconds.
Step 3: Insert a pressing pillow inside your pillowcase and cover it with protective paper to prevent any bleeding or press lines. Cover the top of your designs with protective paper, and now we’re ready to press!
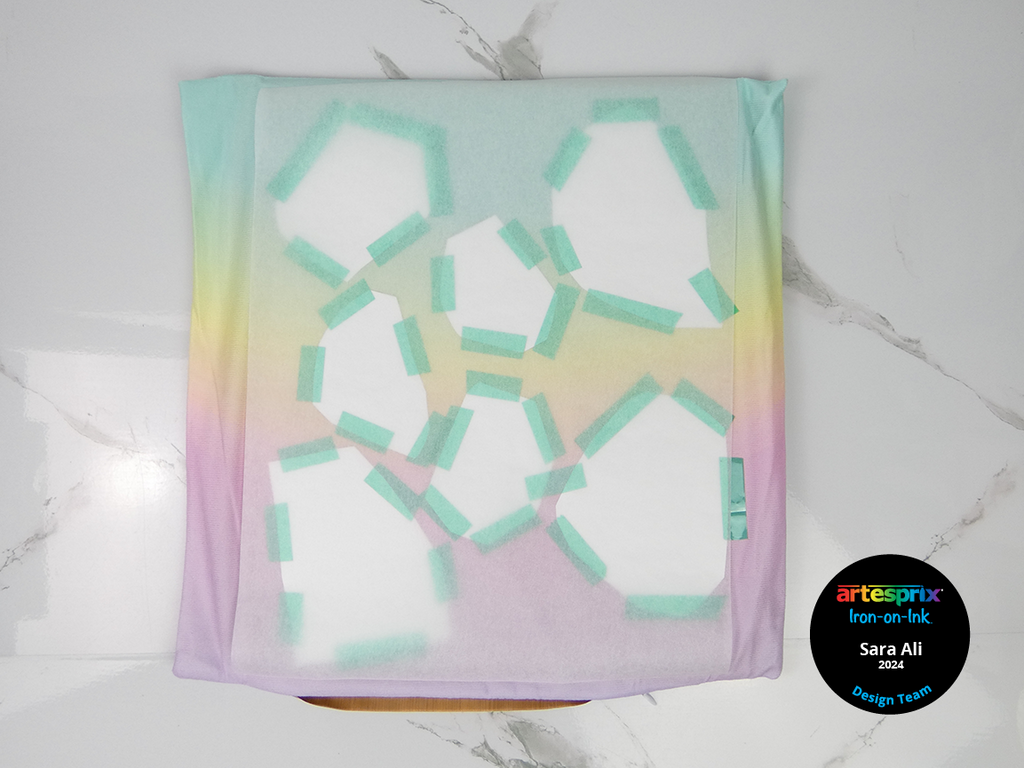
Step 4: Press your design! Your heat press should be set to 400°F and 60 seconds.
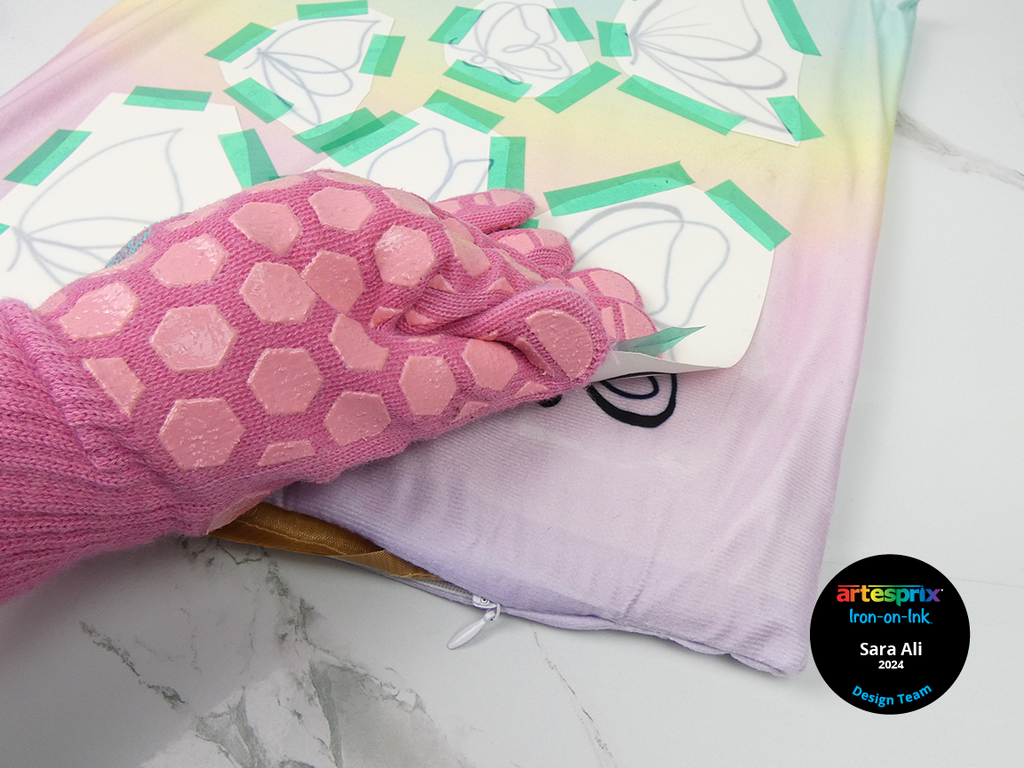
Step 5: After pressing each design, it is recommended to peek at how your design transferred! The "peek test" helps you check whether you have a successful vibrant transfer. If you peek and find that your colors didn’t turn out, feel free to re-press your design to get those vibrant colors! This saves you materials and makes sure you get great results each time!
Step 6: Now, let’s reveal our designs! Allow pillow case to cool and repeat the steps above for the other side. Insert standard pillow inside to use immediately.
The black butterflies look great with the ombre color of the pillowcase! You can use the same technique with any line art inspiration! This unique blank is only available for this month, so make sure you grab one!
I hope that I inspired you to make your own! If you have any questions comment them below or post them to the Artesprix Facebook Group. Don’t forget to share your creations with us on Instagram or Facebook! I am on Instagram, Facebook and TikTok, let’s keep in touch!
Keep on crafting!
Best,
Sara Ali
**This post may contain affiliate links. That means that I may receive compensation if you purchase through the links I have provided. The price you pay for the product or service is not higher, but I may get compensated.**
Comments