Hello! I’m Alison Heikkila and I couldn’t be more excited about the July Blank of the Month. It’s a Pendant, and as a jewelry maker, I have been hoping for something like this from Artesprix since I started working with their amazing sublimation craft products. This is a great opportunity to use some of your teeny tiny stamps. I had fun looking through some of mine to find the perfect designs for my pendant.
**This post may contain affiliate links. That means that I may receive compensation if you purchase through the links I have provided. The price you pay for the product or service is not higher, but I may get compensated.**

What is Artesprix Iron-on-Ink?
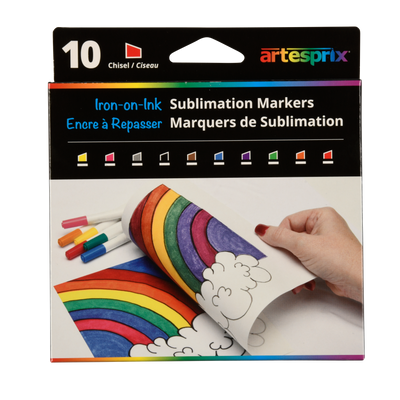
Artesprix Sublimation Markers, Ink, and Paint are specially formulated to allow you to use basic copy paper to: color, stamp, stencil, and monoprint anything you wish and turn it into a heat-transferable design. These designs are then applied to a polyester or polyester coated substrate with heat and pressure. You can use a heat press or a home iron! These designs, through this process of sublimation, will become permanent on your substrates.
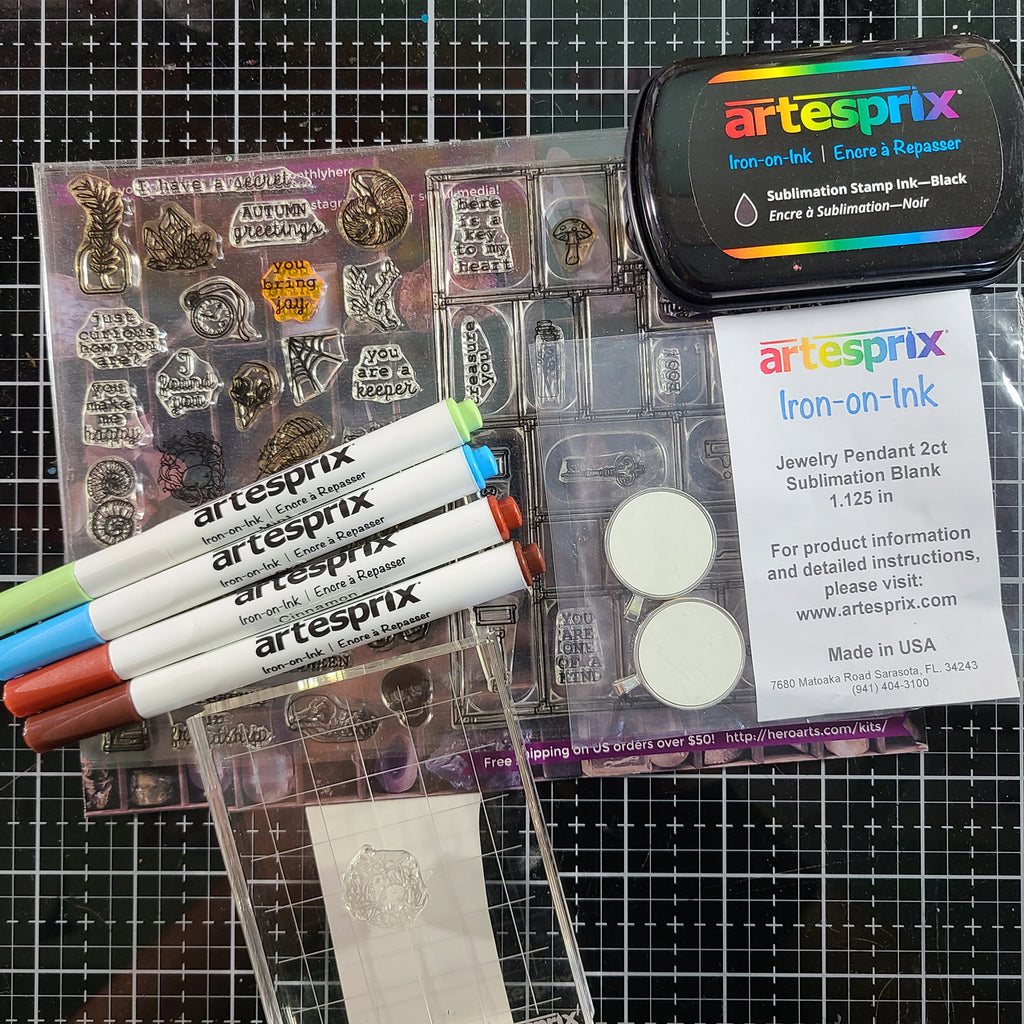
Supplies:
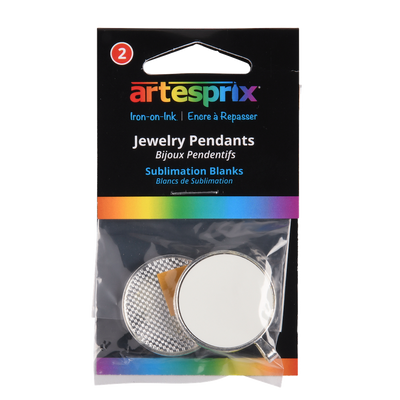
Jewelry Pendant
Sublimation Markers- Basic Fine (Brown and Black)
Sublimation Markers- Pastel Chisel (Sky)
Sublimation Stamp Pad-Black
Protective Paper
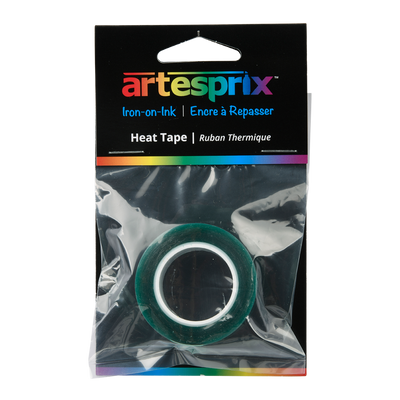
Heat Tape
Hero Arts: My Monthly Hero- Past Halloween Set (no longer available)
Altenew: Crafty Friends (fern sprig only)
Lawn Fawn: Party Animals (teeny heart only)
Strathmore: Smooth Bristol Cardstock
Heat Source: Home Iron, Craft Iron, or Heat Press
Step-by-Step Tutorial:
Step 1: Remove the metal inserts from the pendants. Trace the pendant on a piece of Smooth Bristol Cardstock. If you aren’t using any wet techniques, you can use regular copy paper.

Step 2: Stamp your focal image with the Black Sublimation Ink Pad.

Step 3: Add additional designs and color. Here, I drew in a fern with a pencil.

Step 4: Add more color to the design. I started by scribbling some of the Sky marker onto my craft mat, adding some water to my brush, and painting in the eggs.

Step 5: The background of the nest was done the same way as the eggs, but using the Brown marker. I added the details to the next by coloring directly with the marker. I also outlined the fern I drew with the Black Marker, and colored in the leaves with Mint.

I like adding different techniques and details to my projects, but you can stop whenever you like. Here, I took a small, solid fern stamp and colored it directly with the Mint marker and stamped it three times around my nest.
To finish off my design, I added a teeny heart on top of the fern I drew, and painted the background with a more watered-down brown than I used for the nest.

Step 6: Tape the Blank face-down onto the completed design using Heat Tape.

Step 7: It’s time to make the "Sublimation Sandwich"! Flip your Blank over so that the design is on top, but facing down with your Blank underneath. Then, add a layer of Protective Paper on top and on the bottom. This will protect your surfaces from any accidental ink transfers.
Step 8: Let’s sublimate! Press the Pendant for 45 seconds at 400℉.

Step 9: Now it’s time for the "Peek Test". Carefully lift up a portion of your design from the Pendant to make sure your design transferred well.

Step 10: Remove the adhesive backing from the inside of the silver bezel of the pendant and press the sublimated design into it. Add a necklace.
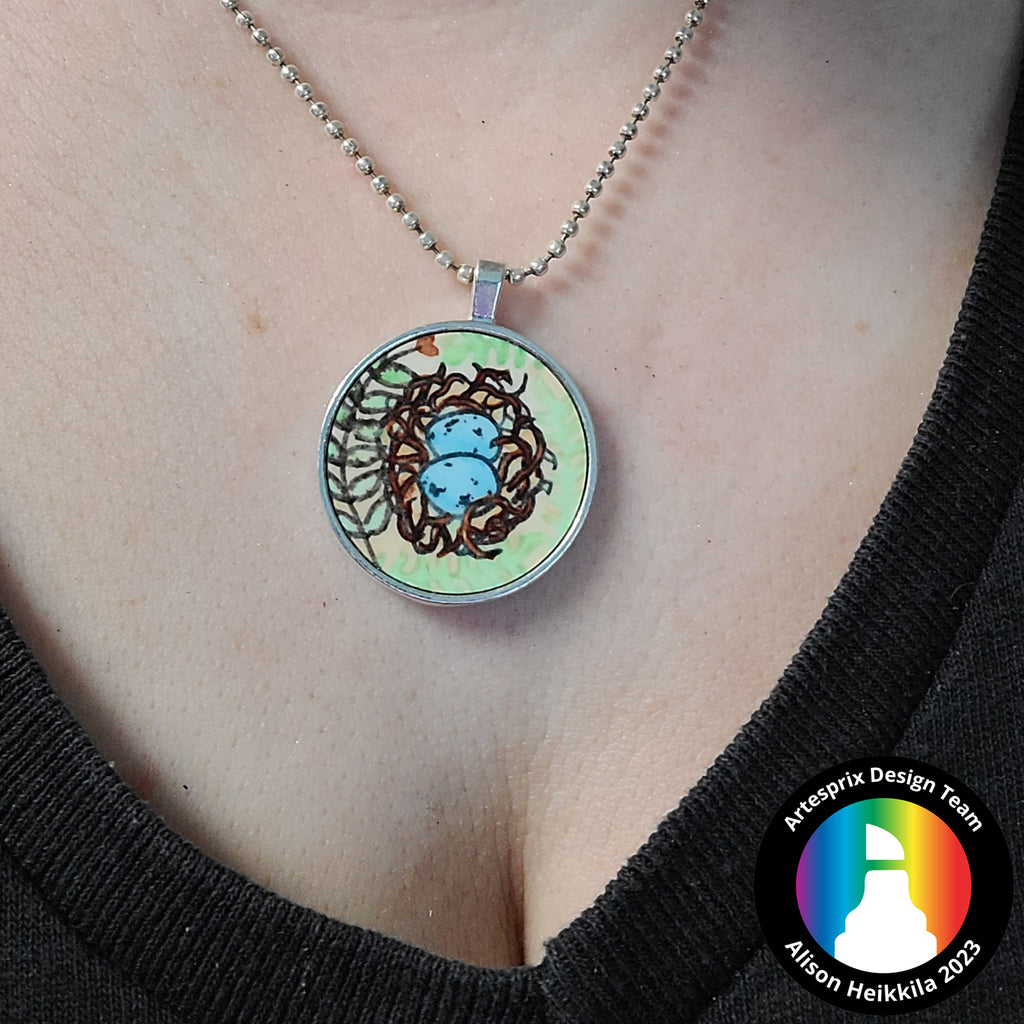
Ta-da! Here is my finished necklace. I added a simple ball chain.
This pendant is special to me because it represents my kids. I love wearing jewelry with meaning, and creating your own pendant allows you to do just that. How would you like to get more ideas on using Artesprix’s Sublimation Ink Pads, Markers, and Paint? There’s a Facebook Group that’s just for fans of Artesprix! You can click HERE to join. Also, don’t forget to visit the Artesprix store to see all of the available blanks and bundles, so you can get started with sublimation. Thanks so much for stopping by.
Have an inspiring day!
Alison Heikkila
**This post may contain affiliate links. That means that I may receive compensation if you purchase through the links I have provided. The price you pay for the product or service is not higher, but I may get compensated.**
Comments